· Flutter 개발 · 5 min read
Flutter IoT Riverpod override - Flutter BLE와 MQTT 구현체 실행 환경별로 바꾸기
Flutter IoT 앱에서 Riverpod override로 Flutter BLE와 MQTT 구현체를 운영·데모·테스트 환경별로 분리하는 방법을 정리했다.
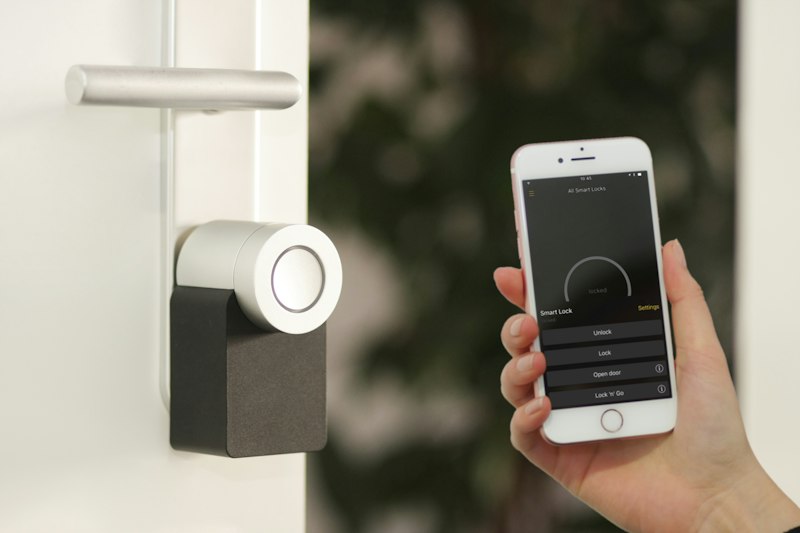
Flutter IoT 앱에서는 Flutter 스마트홈 화면보다 Flutter BLE와 MQTT 구현체를 어디서 갈아끼울지가 더 이른 단계에서 정리돼야 한다. Riverpod override를 앱 진입점에 두면 운영 앱, 데모 앱, Widget Test가 같은 화면 코드를 쓰면서도 서로 다른 통신 계층을 바라보게 만들 수 있다.
처음엔 if (isDemo)를 Repository 안에 넣었다. 해보니 됐다. 근데 시간이 지나자 BLE 스캔, MQTT publish, 보일러 상태 조회마다 데모 분기가 퍼졌다. 운영 코드 안에 가짜 응답이 섞이니까 실제 장애를 볼 때도 불안했다. 데모 화면에서 잘 되던 게 실기기에서 안 되면, 이게 BLE 문제인지 분기 문제인지 바로 구분이 안 됐다.
기준을 바꿨다. Provider는 추상 타입만 노출하고, 실제 구현체는 ProviderScope에서 결정한다.
abstract interface class BleGateway {
  Stream<BleConnectionState> watchConnection(String deviceId);
  Future<void> connect(String deviceId);
}

abstract interface class MqttGateway {
  Stream<DeviceShadow> watchShadow(String thingName);
  Future<void> publishCommand(DeviceCommand command);
}

final bleGatewayProvider = Provider<BleGateway>((ref) {
  throw UnimplementedError('BleGateway override가 필요하다.');
});

final mqttGatewayProvider = Provider<MqttGateway>((ref) {
  throw UnimplementedError('MqttGateway override가 필요하다.');
});
일부러 기본 구현체를 넣지 않았다. 이 Provider가 실수로 그대로 읽히면 앱이 조용히 이상한 동작을 하는 것보다 빨리 터지는 편이 낫다. 특히 Flutter BLE는 iOS 시뮬레이터에서 테스트가 안 되니, 잘못된 구현체가 들어가도 늦게 발견되는 경우가 많았다.
운영 앱은 실제 구현체를 넣는다.
void main() {
  runApp(
    ProviderScope(
      overrides: [
        bleGatewayProvider.overrideWithValue(FlutterBluePlusGateway()),
        mqttGatewayProvider.overrideWithValue(AwsIotMqttGateway()),
      ],
      child: const App(),
    ),
  );
}
데모 앱은 같은 화면을 쓰되 통신만 바꾼다.
void main() {
  runApp(
    ProviderScope(
      overrides: [
        bleGatewayProvider.overrideWithValue(FakeBleGateway()),
        mqttGatewayProvider.overrideWithValue(FakeMqttGateway()),
      ],
      child: const App(),
    ),
  );
}
이 구조가 편했던 지점은 대시보드, 스케줄, 퀵모드 화면이 데모 여부를 모른다는 것이다. 화면은 ref.watch(deviceControllerProvider)만 보고, Controller는 Gateway 인터페이스만 본다. 데모 모드 분기가 UI로 새어 나오지 않으니 테스트 코드도 단순해졌다.
testWidgets('보일러 상태 카드가 MQTT shadow 값을 표시한다', (tester) async {
  await tester.pumpWidget(
    ProviderScope(
      overrides: [
        bleGatewayProvider.overrideWithValue(FakeBleGateway.connected()),
        mqttGatewayProvider.overrideWithValue(
          FakeMqttGateway.shadow(power: true, temperature: 23),
        ),
      ],
      child: const App(),
    ),
  );

  expect(find.text('23도'), findsOneWidget);
});
주의할 점도 있다. overrideWithValue에 넣은 객체가 내부 StreamController나 타이머를 가진다면 테스트 끝에서 정리해야 한다. Fake라고 해서 대충 만들면 pumpAndSettle()이 끝나지 않거나, 다른 테스트에 이전 이벤트가 흘러 들어간다. 나는 Fake Gateway에 dispose()를 만들고 테스트에서 직접 닫는 방식으로 정리했다.
또 하나는 override 위치다. 화면 중간에 작은 ProviderScope를 또 만들어서 특정 카드만 바꾸면 디버깅이 어려워진다. 실행 환경을 바꾸는 override는 앱 루트에 두고, 특정 테스트 케이스에서만 필요한 override는 테스트 위젯의 루트에 두는 편이 덜 헷갈렸다.
짧게 정리하면 이렇다. Flutter IoT 앱에서 Riverpod override는 테스트 편의 기능으로만 볼 게 아니다. Flutter BLE, MQTT, 데모 데이터처럼 실행 환경마다 달라지는 경계를 앱 시작 지점에서 고정하는 장치다. 분기를 안쪽으로 밀어 넣을수록 코드는 당장은 편하지만, 장애가 났을 때 원인을 찾는 시간이 길어진다.